Instax Square back for the Mamiya RB67
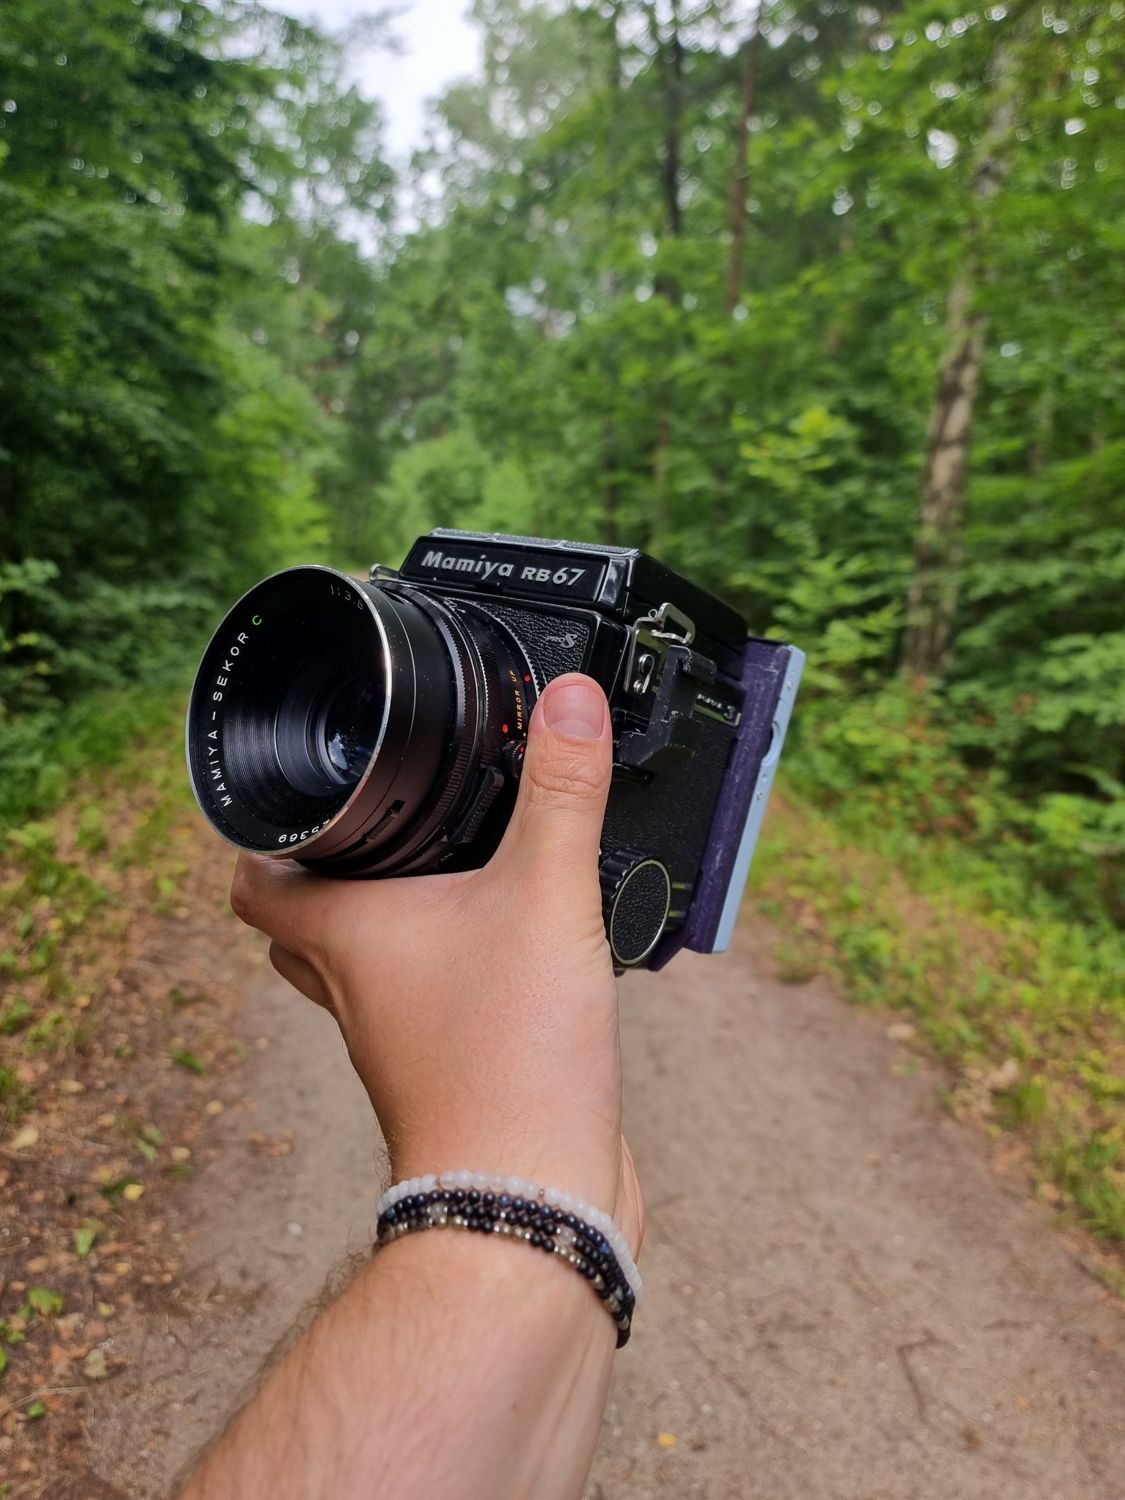
Square67 turns a Fujifilm Instax SQUARE SQ1 into an instant back for your RB67. The Mamiya lens projects straight onto Instax Square film, and the SQ1's own motor ejects the print at the push of a button.
- Film Instax Square
- Donor Instax SQ1
- Tested on RB67 Pro S
- Guide 20 illustrated steps
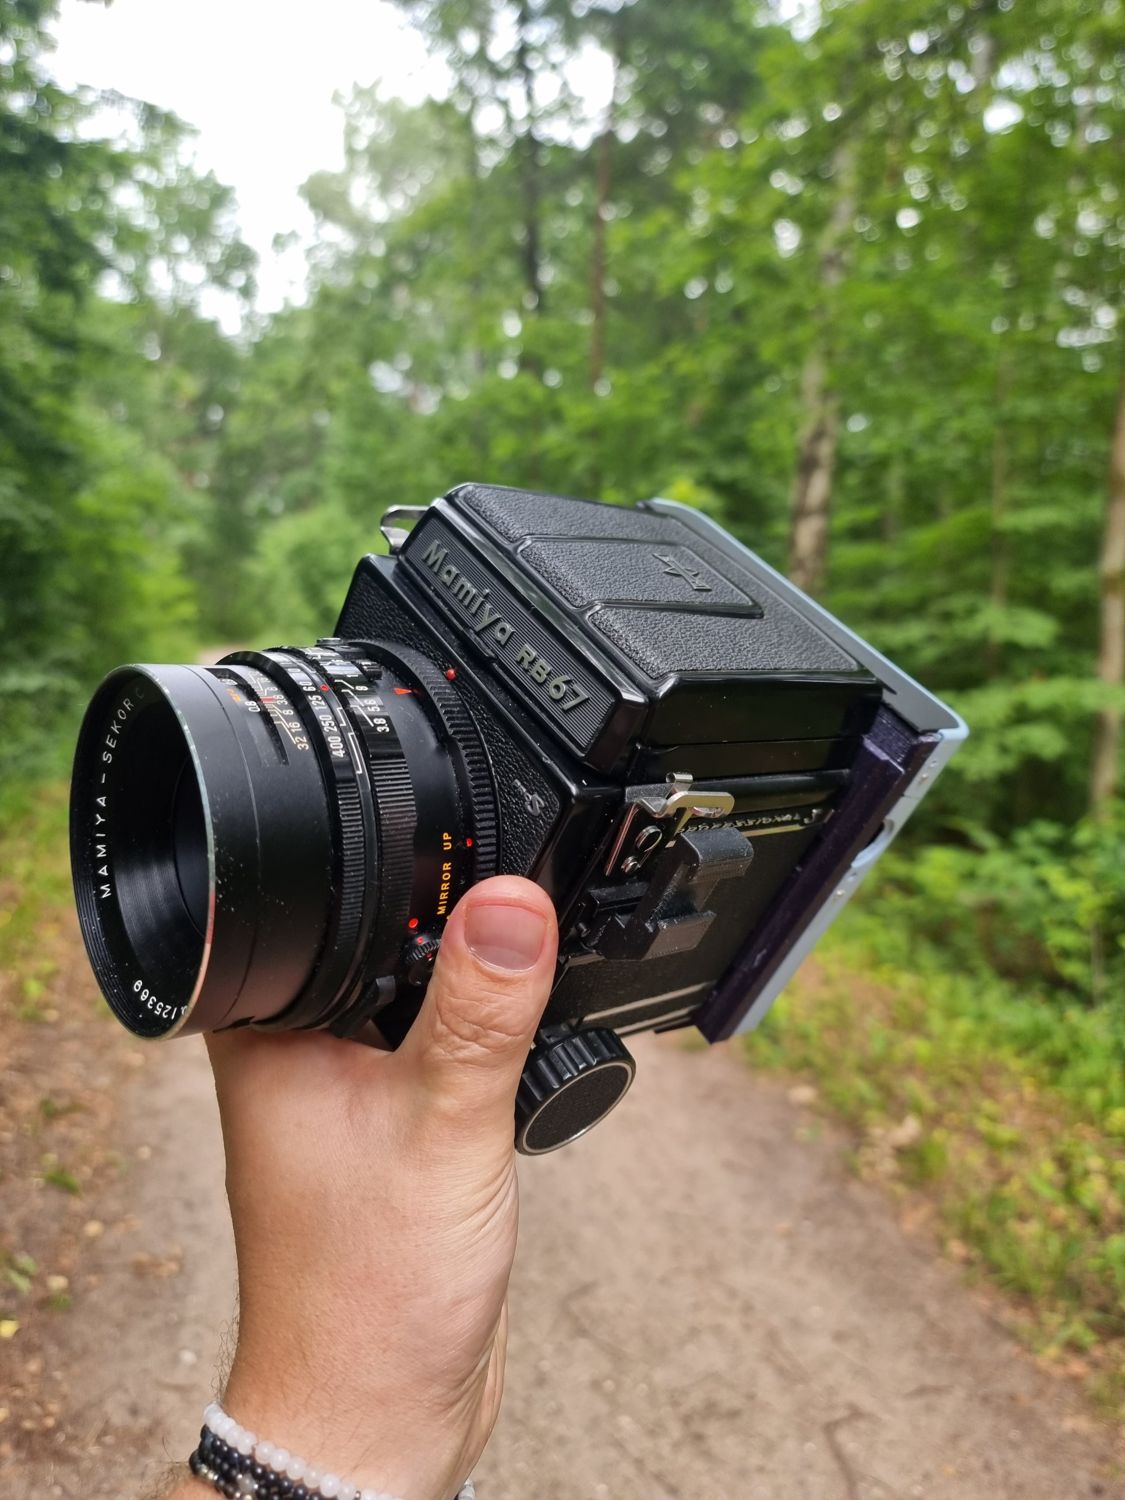 Instax SQ1 + RB67 Pro S
Medium-format glass, instant prints
Real Instax Square prints made with the adapter. Shallow depth of field and smooth bokeh from Mamiya Sekor lenses, on film you hold a minute later.



The SQ1 keeps its film transport. The RB67 does the rest.
Strip the SQ1
The SQ1's lens, main board and flash come out. The film chamber, motor, gear train and film-exit rollers stay.
Fit the printed adapter
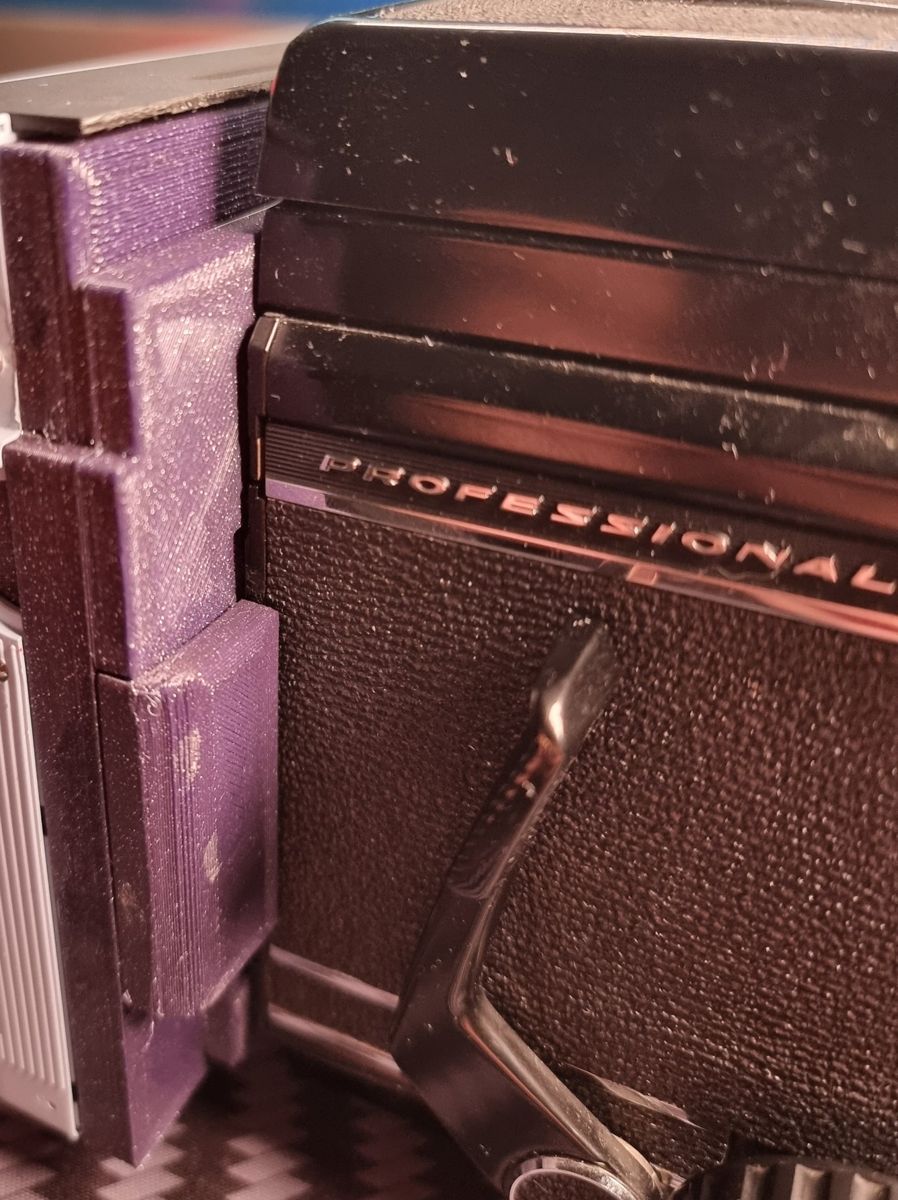
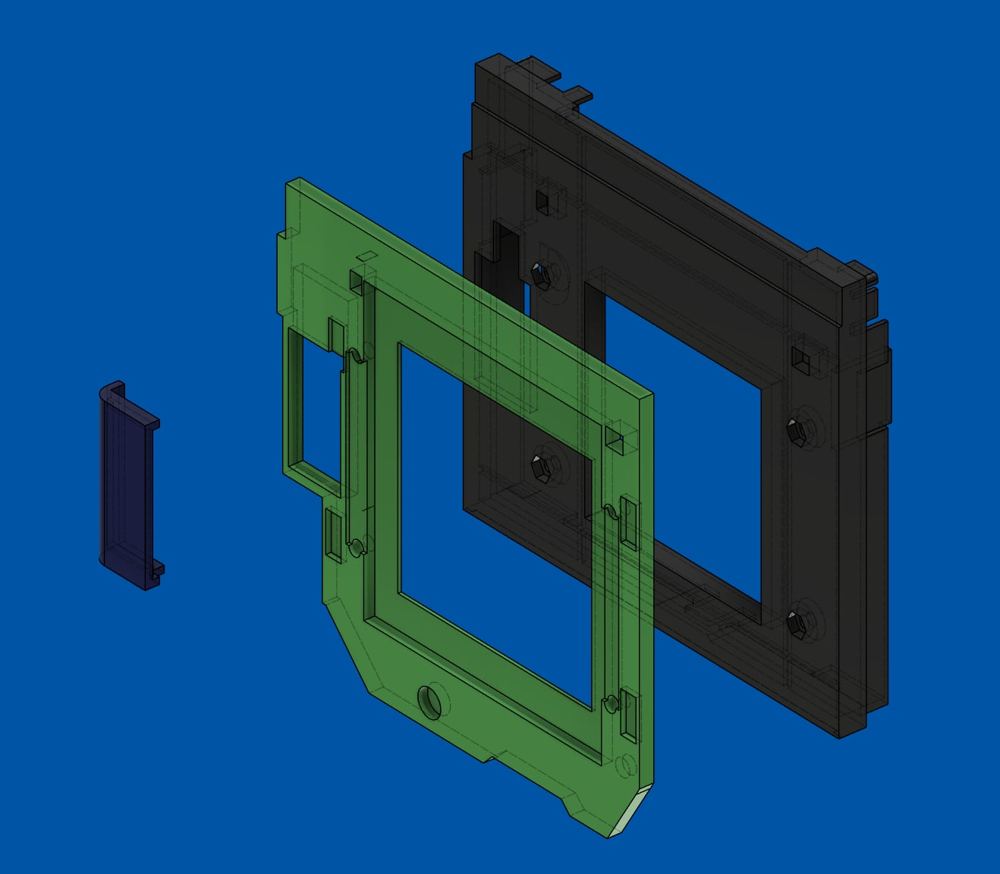
A printed frame and interface plate join the SQ1 body to the RB67. Four adjustable M3 screws set a firm fit, and the Mamiya lens projects straight onto the film.
Press to eject
The eject motor runs straight from the SQ1's batteries through a button in the former viewfinder opening. Hold it until the print is out.
An instant back for the RB67, again
The RB67 once had Polaroid backs for peel-apart pack film, but Fujifilm stopped making that film in 2016. Instax Square is in production and sold everywhere, so Square67 gives the RB67 an instant back that you can keep shooting.
You print the parts yourself, use a standard Instax SQ1 as the donor, and follow the illustrated guide.
Read the SQ1 disassembly guide →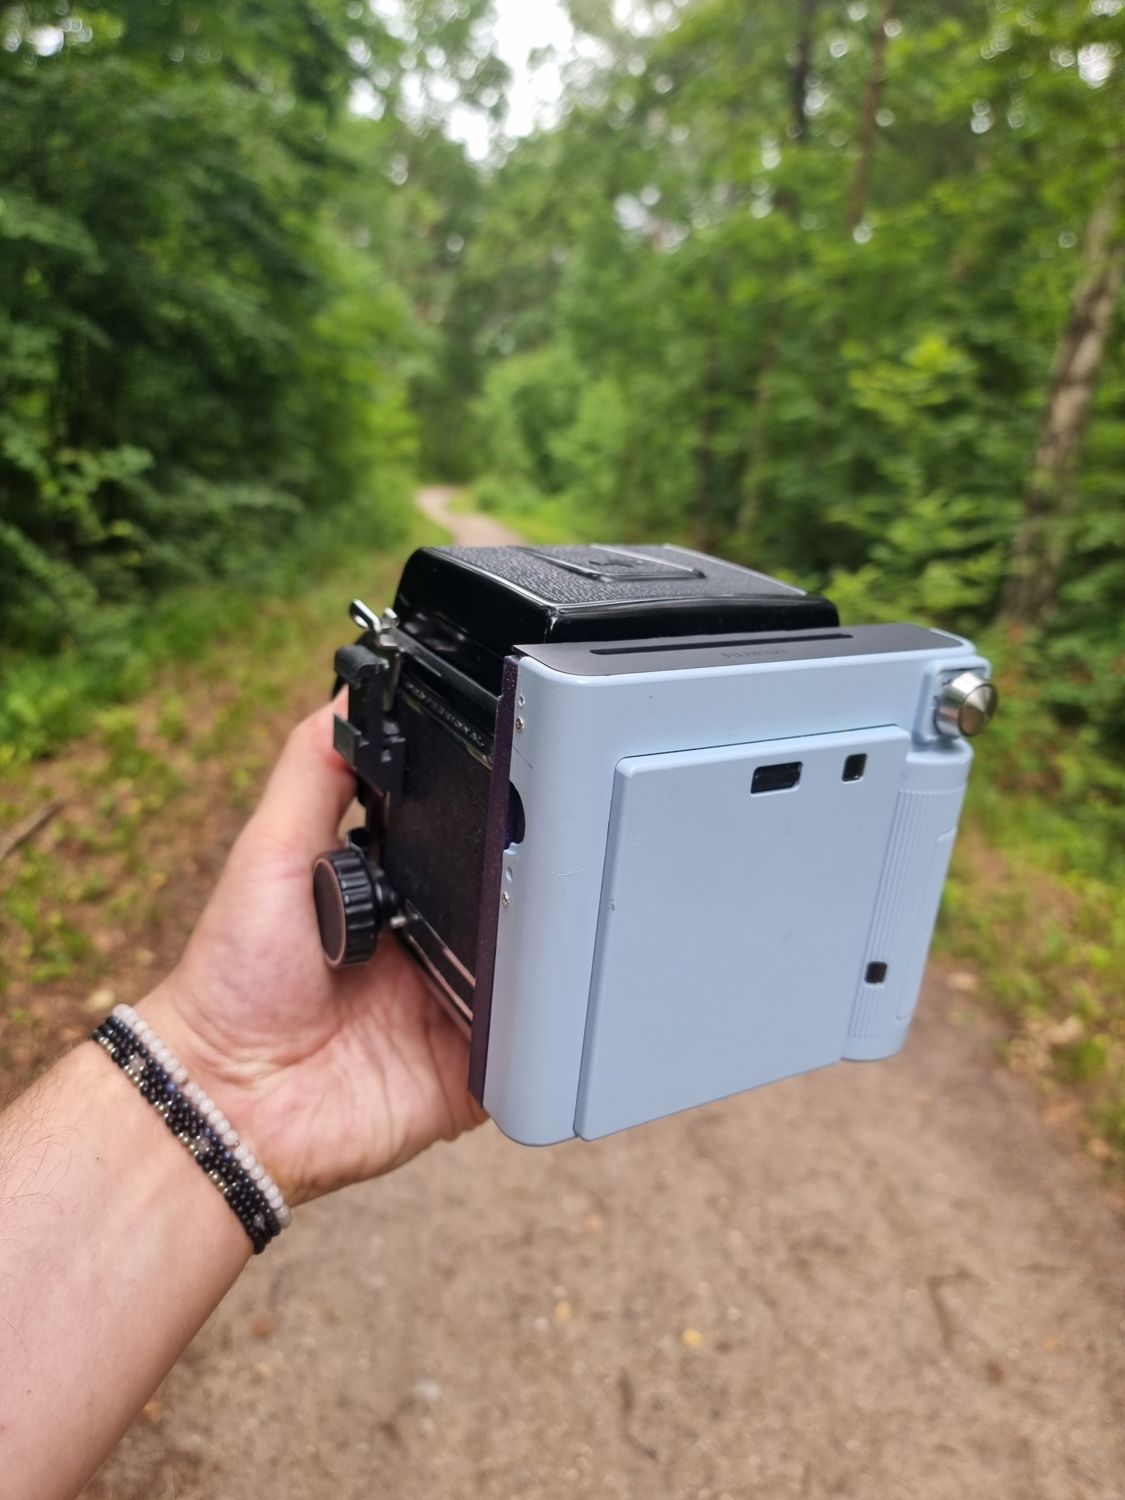
Take it apart before you print it
Rotate, zoom and explode every printed part in place on the SQ1 body. Toggle the gluing jig and part labels in the panel.
Nine printed parts and a short shopping list
| Printed part | Role |
|---|---|
| 01 Main Body | Base frame fixed to the SQ1 body |
| 02 Adapter plate | Interface plate on the RB67 side |
| Motor cover | Covers the eject motor |
| Maska optional | Trim strip along the top edge |
| Eject Button 01, 02, 04 | Housing for the tactile switch |
| Eject Button 05 | Button cap |
| Frame template jig | Gluing jig, used only during assembly |
| Item | Qty |
|---|---|
| Mamiya RB67 | 1 |
| Fujifilm Instax SQUARE SQ1 (donor) | 1 |
| E-Switch TL1100F160Q tactile switch | 1 |
| M3 hex nut | 4 |
| M3×10 flat (slotted) head screw | 3 |
| M3×10 hex socket head screw | 1 |
| Heat-shrink tubing | 3 pcs |
| Two-part epoxy and cyanoacrylate gel | – |
Tools: PH00/PH0 screwdrivers, soldering iron with flux and solder wick, flush cutters, a multimeter and a 1–10 kΩ / 2 W resistor.
Irreversible. The SQ1 loses its lens, flash and warranty.
High voltage. The SQ1's flash capacitor (300 µF, 320 V) can stay charged after the batteries are out. The guide shows how to discharge it safely first.
Twenty illustrated steps, from donor camera to instant back
Part 1 is free to read here. The full guide, including Part 2 with step-by-step renders, comes with the files on Cults3D.
Part 1 – SQ1 disassembly
- 01Check the kit and prepare the camera
- 02Remove the outer housing screws
- 03Release the film-exit cover
- 04Separate the rear shell
- 05Discharge and remove the flash capacitor
- 06Take the chassis out of the front shell
- 07Disconnect the main board
- 08Remove the lens barrel
- 09Clean up the chassis
- 10Set aside the housing parts
Part 2 – Assembly
- 11Insert the M3 nuts
- 12Glue the main body and adapter plate
- 13Glue on the motor cover
- 14Route the eject-button wires
- 15Join the SQ1 body and the adapter
- 16Fit the eject button and solder the wiring
- 17Glue on the Maska strip (optional)
- 18Fit the four M3×10 screws
- 19Adjust the fit on the RB67
- 20Seal light leaks
Questions before you print
What film does it use?
Instax SQUARE film, the same packs the SQ1 normally takes. It loads through the SQ1's original film door.
Can I convert the SQ1 back afterwards?
No. The lens, main board and flash are removed for good, so treat the SQ1 as a donor camera.
How is the print ejected without the main board?
The SQ1's eject motor is wired straight to its battery compartment through a tactile switch in the printed button housing. The motor runs while you hold the button, so keep it pressed until the print is fully out.
Which RB67 has it been tested on?
It was built and tested on a Mamiya RB67 Pro S. Four adjustable M3 screws on the adapter plate set the fit, so the back sits firmly when the RB67 locking lever closes.
Do I need to solder?
Yes. A few wires are desoldered from the SQ1 main board, and three joints connect the battery, motor and button, each insulated with heat-shrink tubing.
Is the disassembly dangerous?
The flash capacitor can hold a dangerous charge after the batteries are removed. The guide shows how to discharge it through a resistor and check it with a multimeter before you touch its leads.
What if I see light leaks?
Paint over the joints between the printed parts with black nail polish. It is the last step of the guide.
Where do I get the files?
The printable files and the full build guide are on Cults3D. You can download them right after purchase.
Give your RB67 an instant back
Download the files, print the parts and turn an Instax SQ1 into a Square back for your Mamiya.
Get the 3D files on Cults3D